Space Derby® Details and Useful Information
The Space Derby® is a great event to hold but we have found there are
some very big differences.
Actively Powered means winding vehicles
The biggest difference is that the Space Derby® vehicles are actively powered rather than gravity powered. That means each Space Derby®
vehicle needs to be wound up before each race. This can consume a great deal of time and can significantly slow things down.
Prerace registration/inspection to catch problems
The Space vehicles are put under a fair amount of stress when wound up with 100 or more turns
on their rubber band engines and sometimes fail under this stress.
We have included some tips in the Spaceship Construction page to ensure sturdy
construction of your ship.
It is important to have a pre-race registration/inspection night
so that any problems with the vehicles are addressed before the race night. We had a lot of cars fall apart in midflight when they
were not inspected beforehand. We learned from experience to have some Crazy Glue and hot glue ready for these situations.
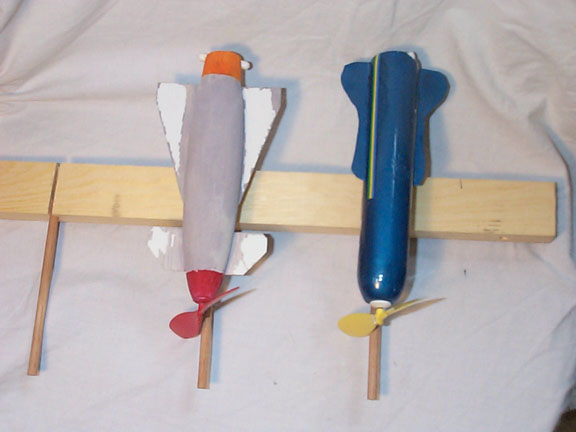
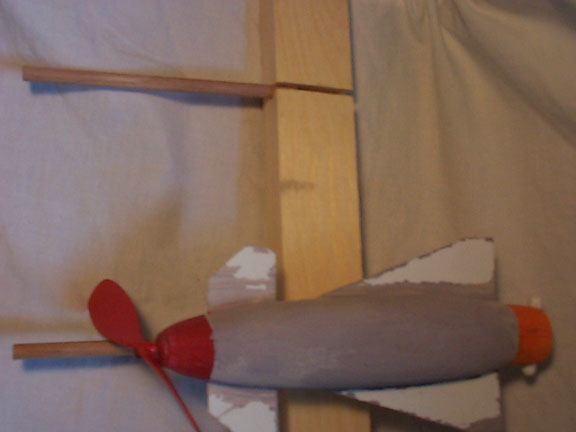
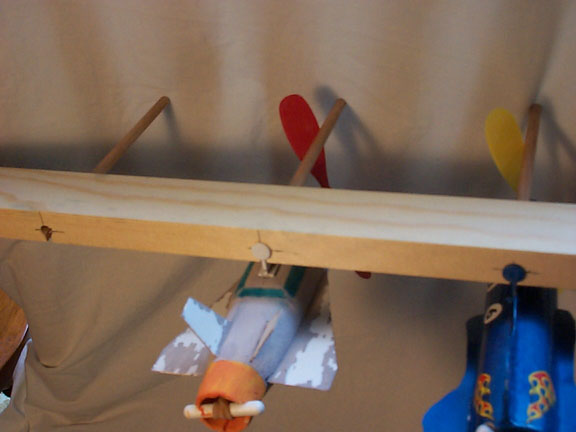
Holding rack very beneficial
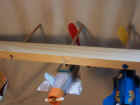
A beneficial item to build is a "holding rack" for the Space Ships. We have seen
a wonderful design that integrates this rack right into the track or you may build it separately
(like a sawhorse). Here is an example:


The BSA Space Derby® track plans and a line drawing of how to attach our timer are shown on the Space Derby®
Track page. The Space Derby® Overview contains a description of
the items we have available for the Space Derby®.
Specially designed sensors
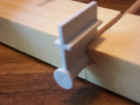
The sensors we supply are switches that mount directly on the wire.
There is one switch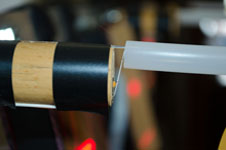 for each
Space Derby® lane. The sensors come pre-assembled and wired together with plugs to connect it to the
SmartLine computer unit.
for each
Space Derby® lane. The sensors come pre-assembled and wired together with plugs to connect it to the
SmartLine computer unit.
Adding the timer to the track
Once you have the track built, you will need to add the sensors, displays, computer unit and start switch.
The sensor wire lengths are made to fit
the Space Derby® track described in the Cub Scout leader's manuals and the BestTrack track.
The spacing between the lanes is 10 inches. If your
track is based on a different design you will have to contact us.
A diagram of the BSA Space Derby® track is shown on the Space Derby® Track page.
Install start gate switch
If you want the race times to be reported to your
race management software or show correctly on the time displays, you will need to install
a start gate switch.
Inspection and Registration Night
It is extremely important to have a prerace night inspection and registration.
This gives you plenty of time to inspect the vehicles and correct any problems that may occur.
Important points to check are as follows.
-
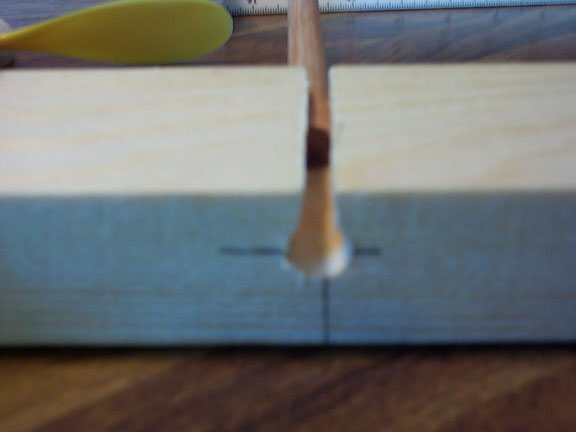
Check that the wire for the prop is bent so that it can't spin when wound up. We found that many
of them were not bent properly.
-
It is helpful to warm up your rubber band by winding it in 50 turn increments and releasing
after each winding until you have wound up to about 150 turns. Our pack used about 120 turns for
a race. We think that more than 150 turns is too much and puts undue stress on the
rubber band and rocket. Test each entry by winding it up to
the number of turns that you will be using on the race night.
If the rocket "falls apart" or the rubber band breaks then there is still time to fix
it if this is done on a registration night and not the race night.
-
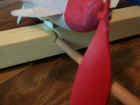
It is very beneficial to soak the rubber bands in two parts "GREEN
SOAP", one part "GLYCERIN" and one part water. Rub this mixture onto your rubber band at least
an hour before racing. You may also soak it overnight in castor oil.
You will probably find the green soap and glycerin at any hardware store.
-
Have extra rubber bands and extra prop assemblies on hand.