Space Derby®
Finish Line and Track
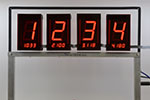
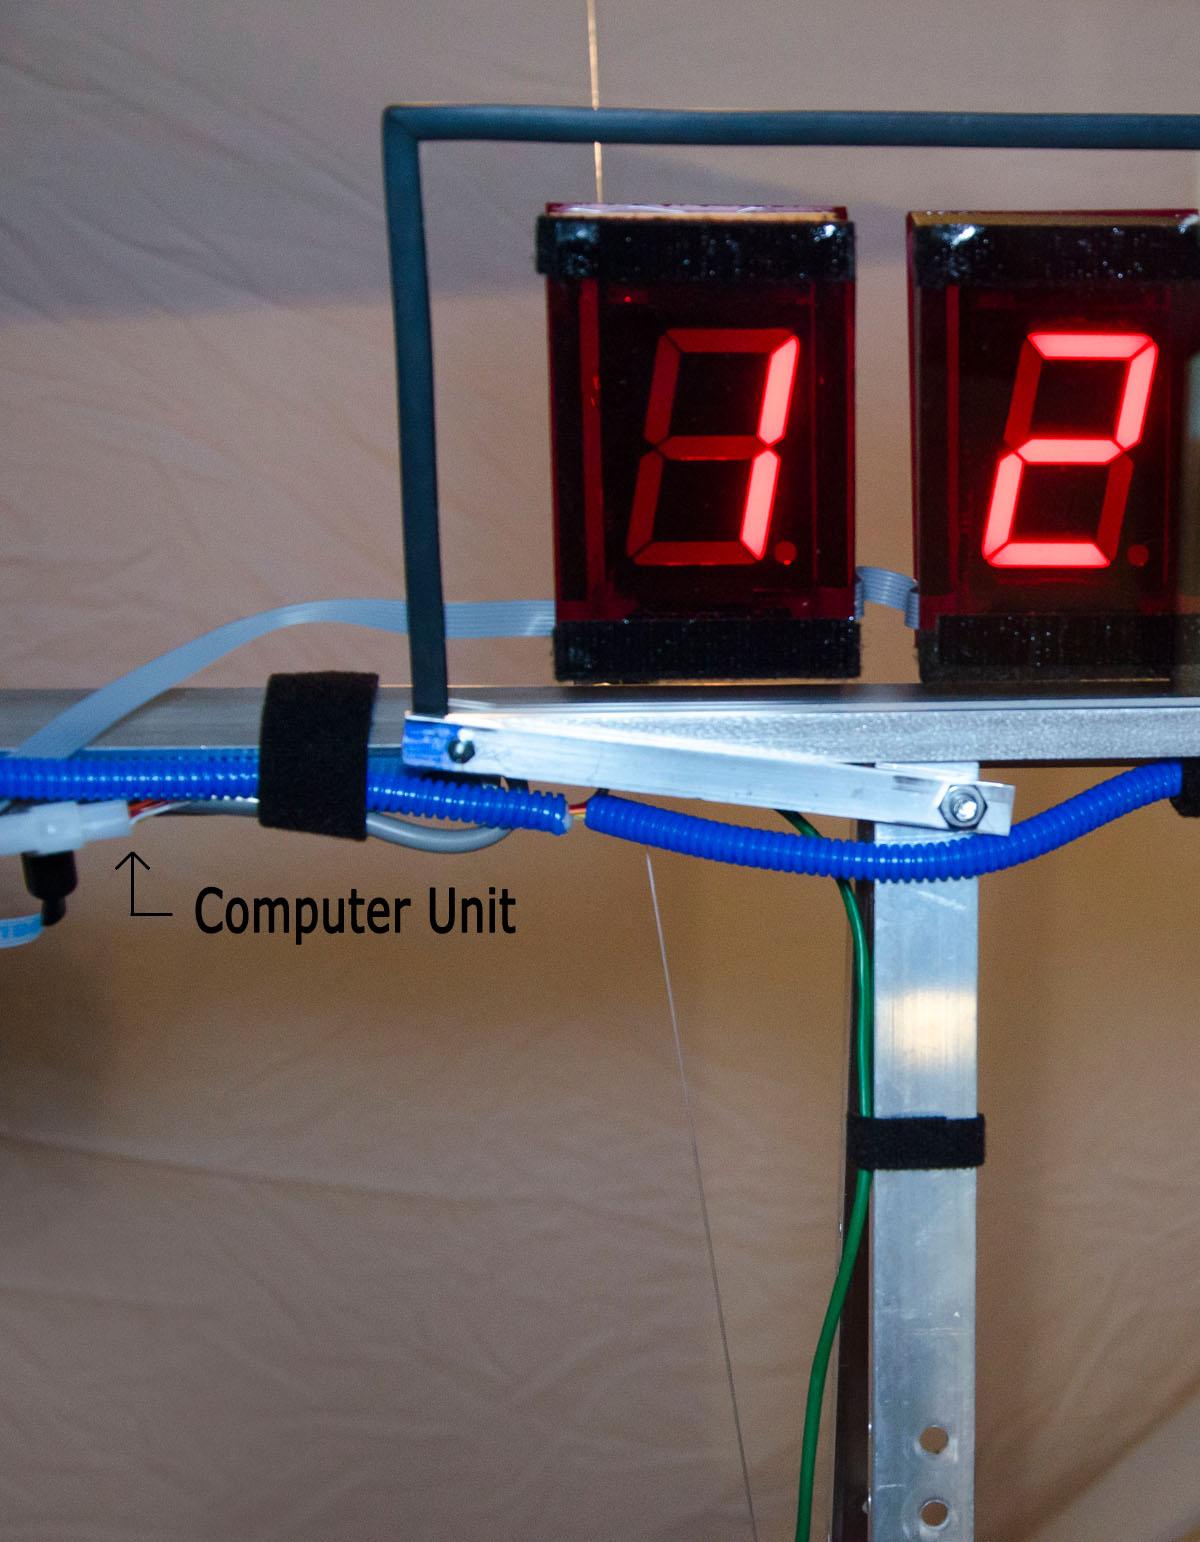
The timer shown below is mounted on the BestTrack track.
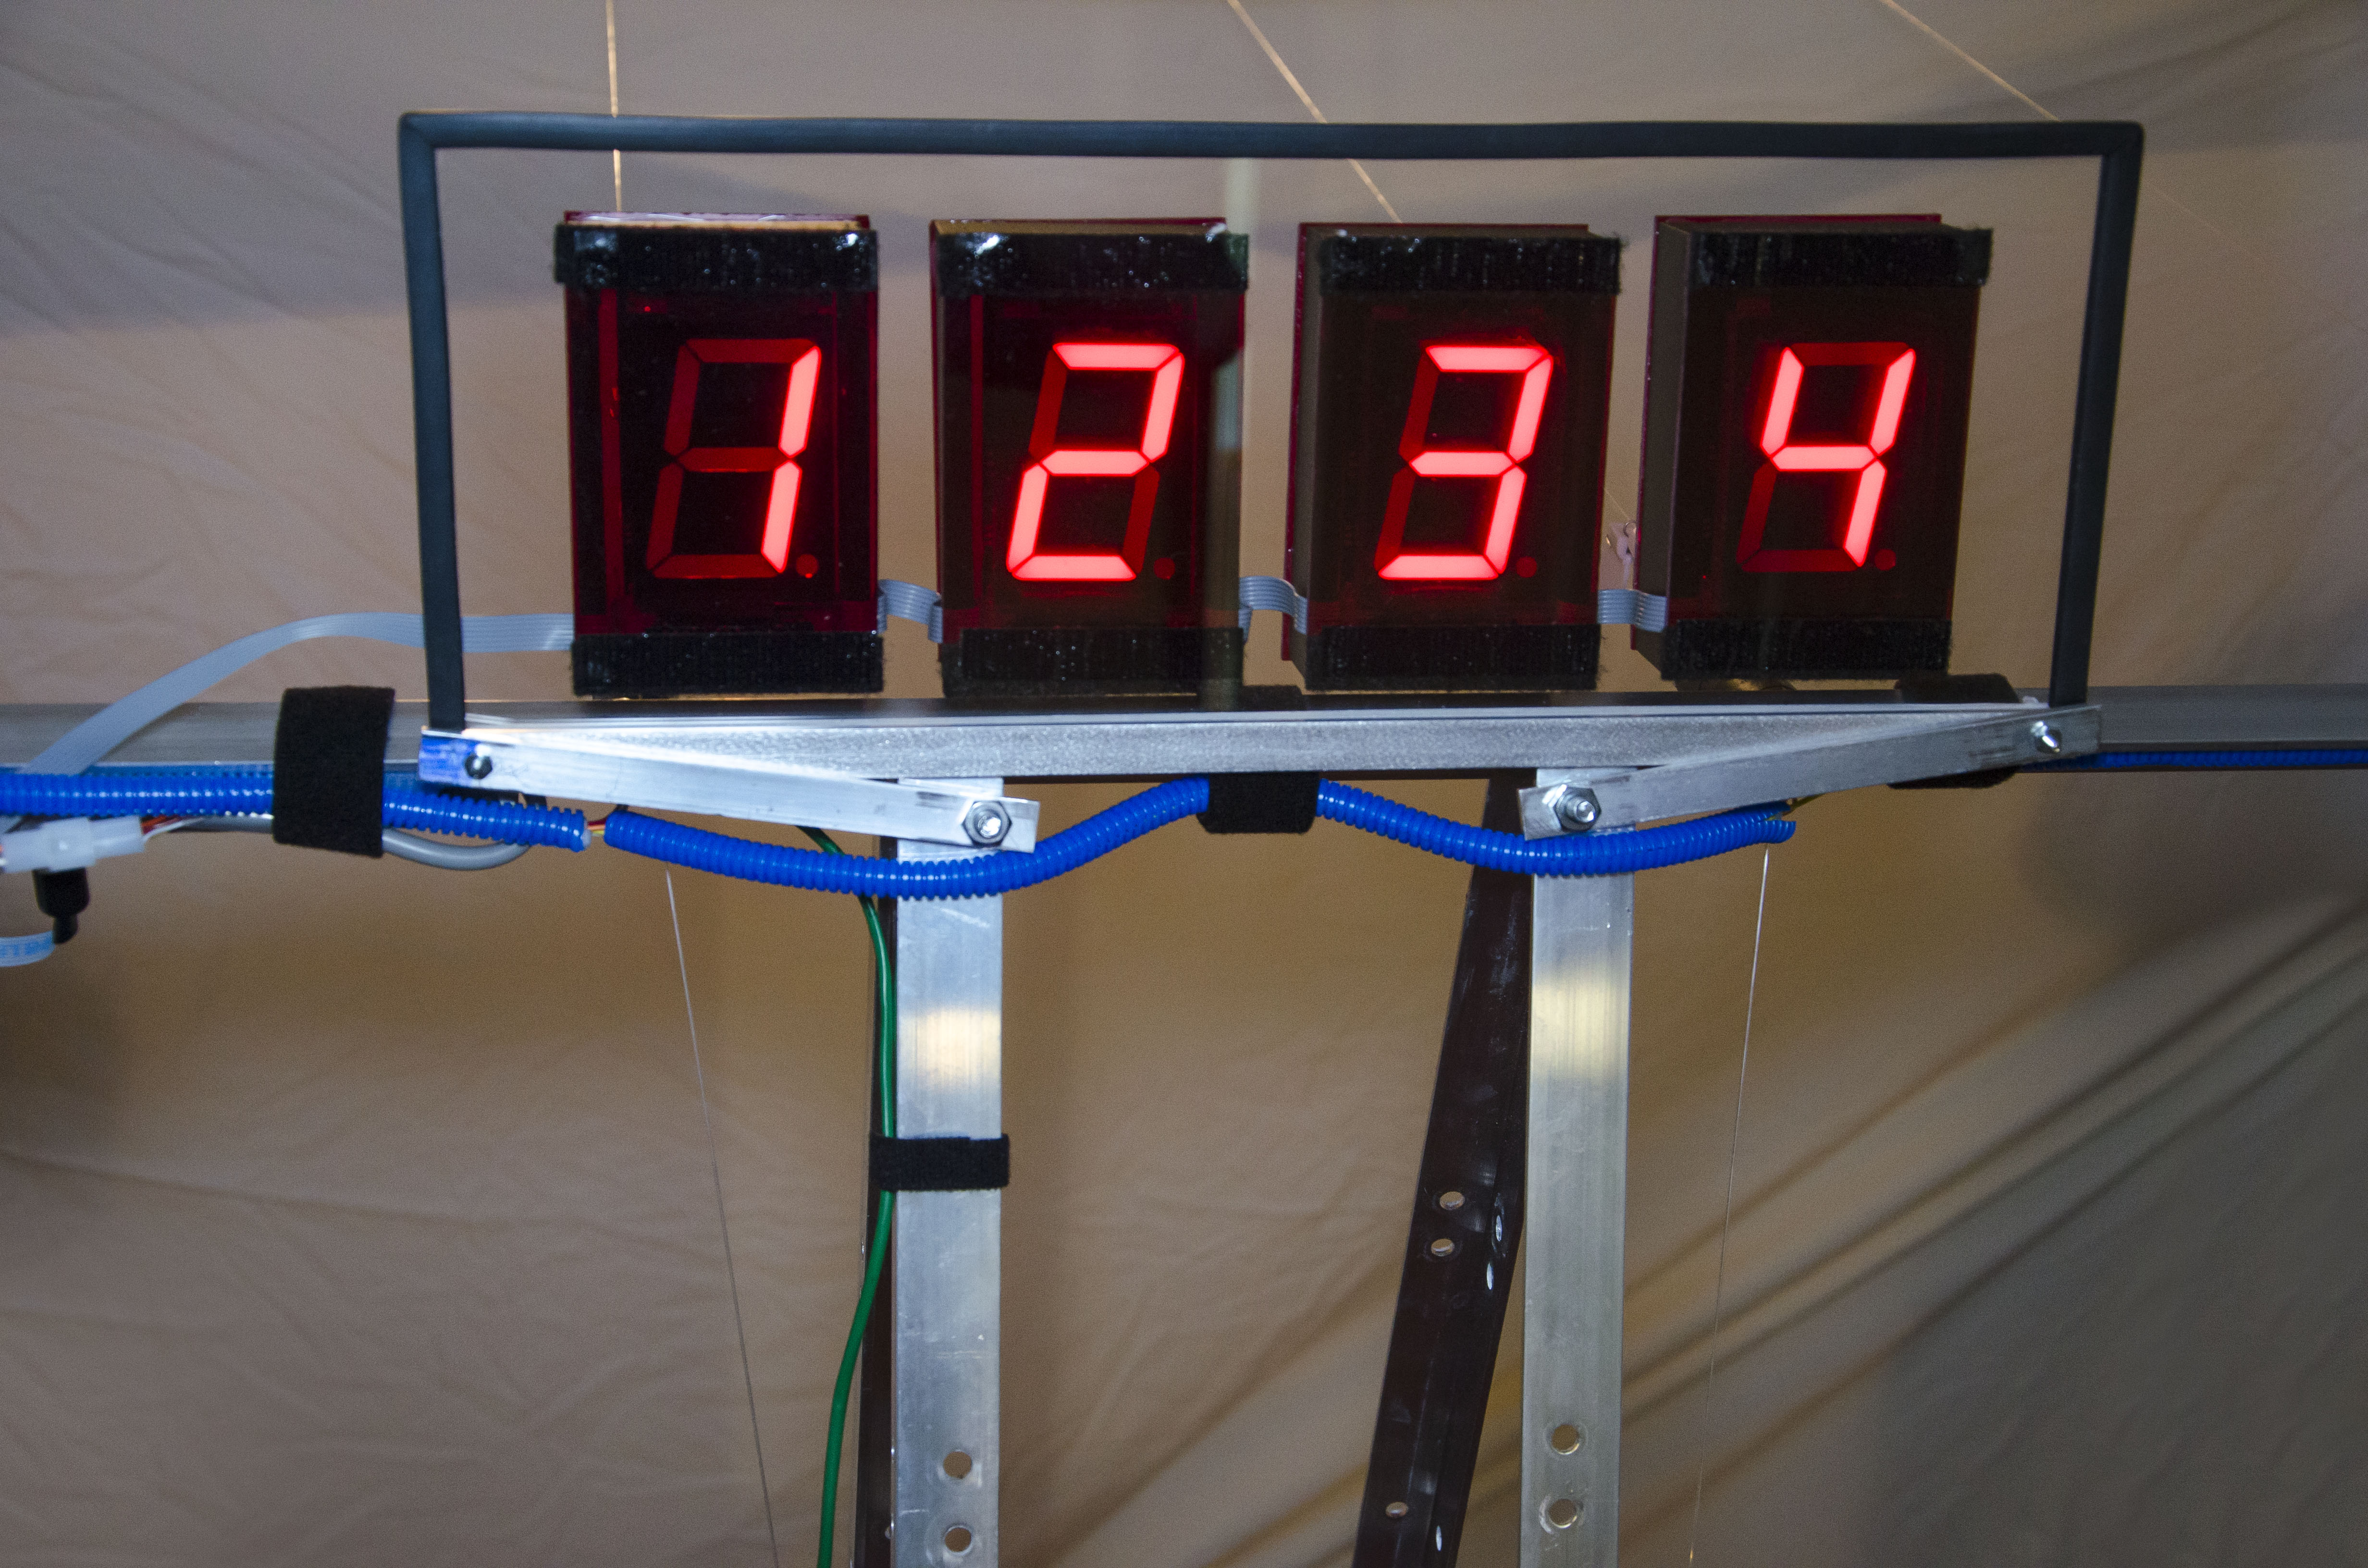
The sensor switches are mounted directly onto the racing line with electrical tape.
The tape holds the sensor secure on the wire so it won't work itself away from the frame.
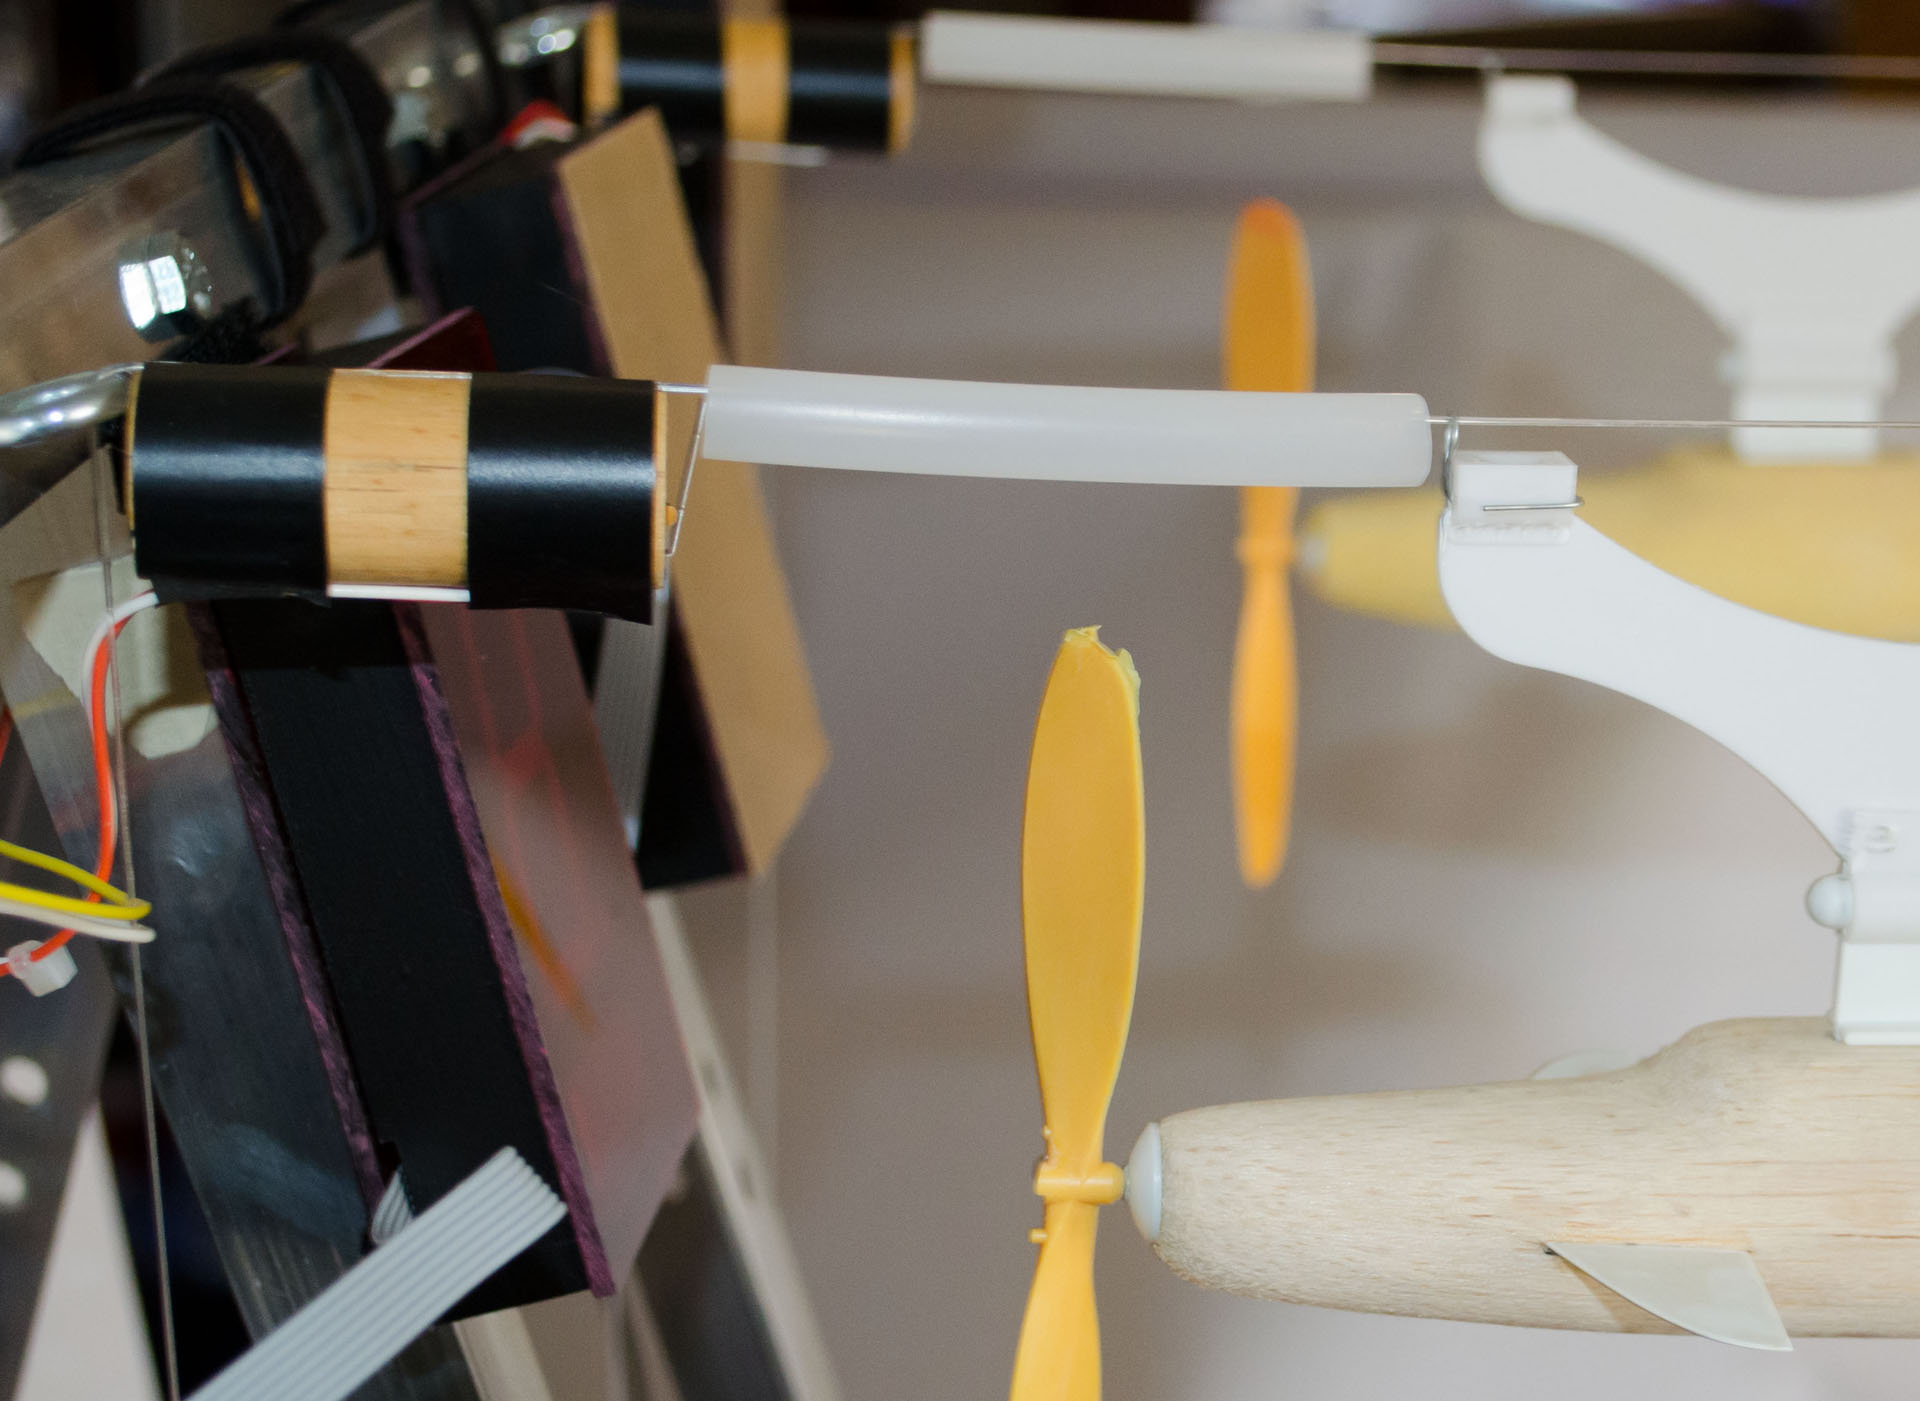
The computer unit is mounted into the back of the Top Angle bar.
The wires and computer are held in place with self-stick Velcro.
We supply a 4 lane Plexiglas panel to hold the displays with the Complete Space Derby package.
The panel is screwed into spare holes in the track using brackets as shown below.
We supply the brackets and panel for a 4 lane BestTrack size only.
The start gate and serial cable wires must be taped to the Vertical bars to prevent pulling.
The sensors fit directly onto the racing line.
The displays and CPU computer unit are mounted directly onto the finish line frame.
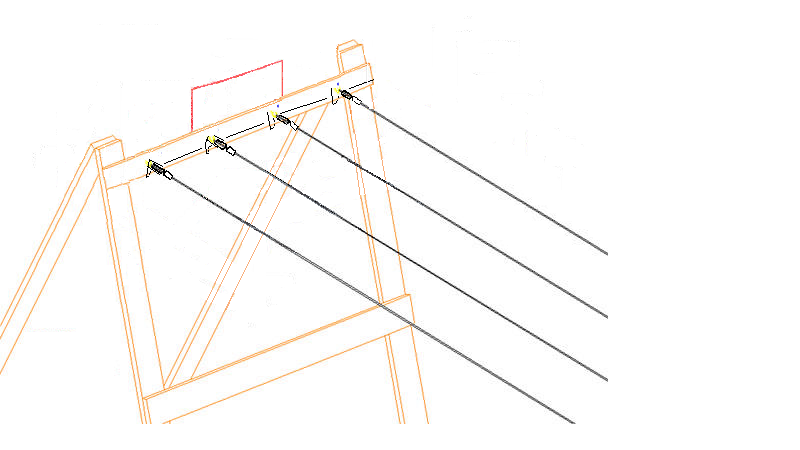
This diagram shows our finish line design on the BSA Space Derby® Track from How-to Guide.
The displays and timer are easily mounted onto the frame of the wooden track.
Mount the displays using the Plexiglas panel onto the back of the bar.
Space Derby® Track Design from How-to Guide
Rockets are flown on guide lines of 50 lb. test monofilament fishing line.
The suggested length is 40 feet, stretched as tight as possible. Sandbags or similar
weight may be laid over lower bar for stability. We also found that raising the starting tower helps.
We used cartons of paper.
Read more about the Space Derby® procedures and operational details.