
Spaceship Construction
Supplies
-
Space Derby® kit -
The newest and best type of Space Derby® kit is made out of balsa wood. The older kits have a Styrofoam body. The Styrofoam body is not as strong, difficult to glue to the plastic parts and difficult to paint. -
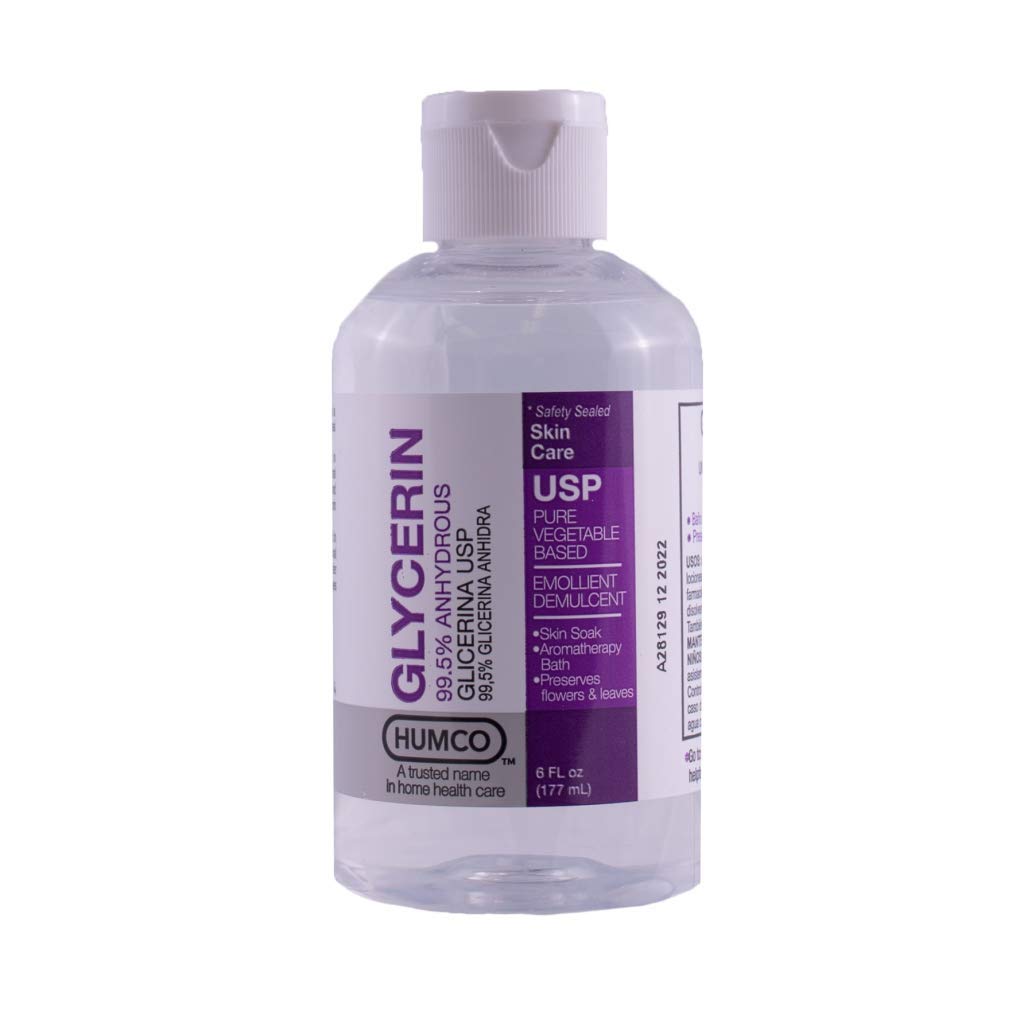
Green Soap and glycerin - See explanation in building procedure below or visit the FAQ page for more information.
-
Have extra rubber bands and extra prop assemblies on hand as a Pack or purchase your own.
-
Round file
-
Needle nose pliers
-
Fine Sand paper
-
Glue - Super glue holds well but should be used with parental supervision
-
Paint and Decals
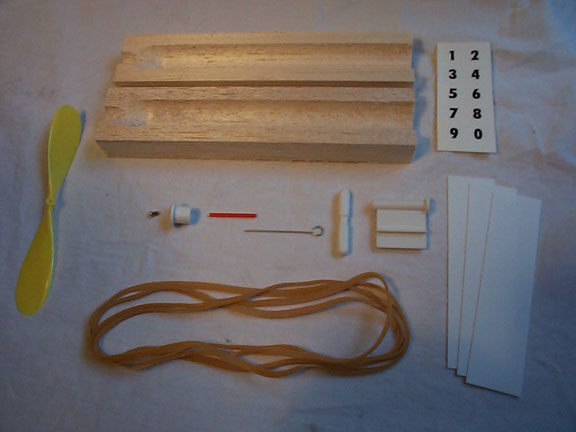
Space Derby® kit
The newest and best type of Space Derby® kit is made out of balsa wood.
Building Procedure
-
Sand the inside portion of the spaceship that will form the tube for the rubber bands. This allows the rubber bands to rotate with less friction.
-
Make grooves for the hanger on each half of the ship so they are in the same place when the halves are assembled. Use a small file or carefully use an Xacto knife with parental supervision. Insert the hanger to verify that the groove is big enough. Do not glue the hangar in because it will get in the way while shaping the ship.
-
Glue the two halves of the ship together.
-
Make a groove across the back of the spaceship with a round file for the rear rubber band holder to fit into. Make the groove at 90 degrees from where the body joint is for additional strength. There will be a lot of stress on this section when the rubber band is wound.
-
Special Step: Slip the red covering over the wire from the straight side to the curved side before assembling anything else on the propeller. Use the needle nose pliers to hold the straight side and push the red covering over the hook. The directions tell you to do this after the propeller is assembled but it is much harder to get the covering on from the curved end.

-
Assemble the propeller as shown in the series of pictures below.
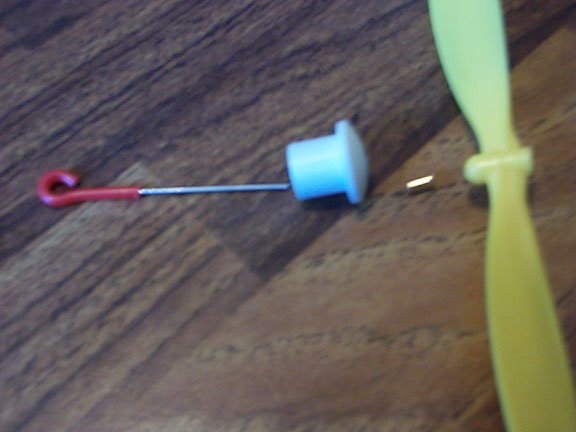
Lay out the pieces as shown here.
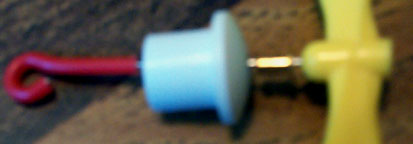
Preassembly order of 4 parts of the propeller
The order of the propeller parts are shown here with the red rubber band hook on the left, the nose cap of the plane, the brass insert, and the propeller on the right.
-
Install the propeller with the rounded hub protrusion toward the brass eyelet.
-
Bend the propeller mounting wire so that it fully engages the propeller. Don't simply bend it into an 'L' shape to engage the ratchet on the hub. At 100 turns the wire will jump over the ratchet. Refer to the pictures below to see the correct way and the wrong way to install the wire.
-
Below is a series of pictures to clarify the way the propeller is assembled.
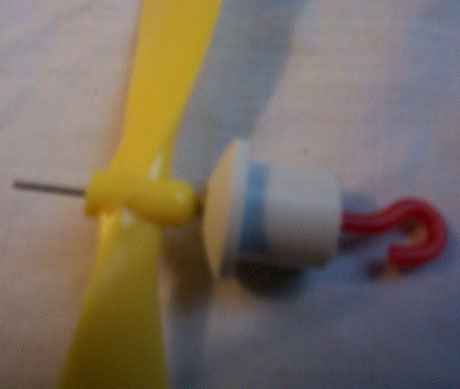
Assembled propeller before bending the wire around the propeller end.
This is the image of the propeller assembled but the wire is not bent into place yet.
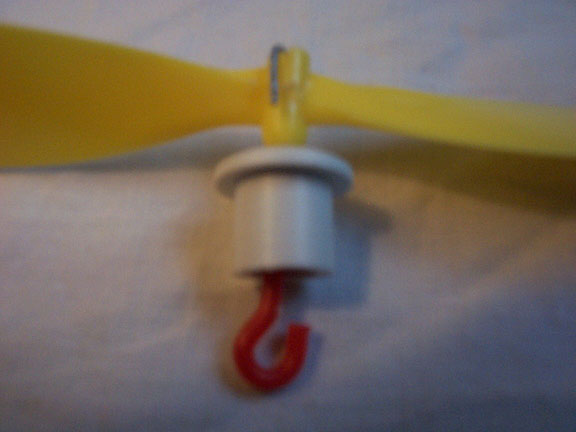
Wire bent properly over propeller
This is showing the correct way to bend the wire over the propeller.
-
Sand the spaceship down to the shape you desire.
-
Cut the wings to any shape you desire. Make grooves for the wings using an Xacto knife with parental supervision or a small file. Glue the wings and the hanger securely into position. Super Glue holds best but please use with parental supervision. The wings and hanger tend to fly off when they fly down the wire. It is important to secure them well.
-
Paint the ship. Water based paint does not stick well to the wings as you can see in the picture below of the gray ship. We would also recommend not painting the hanger because it might not fit well in the carrier.
-
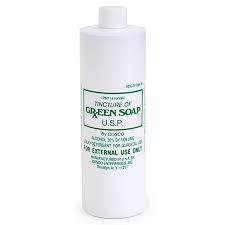
Lubricate the rubber bands with green soap, glycerin and water solution.
It is very beneficial to soak the rubber bands in two parts "GREEN SOAP" , one part "GLYCERIN" and one part water.
Rub this mixture onto your rubber band at least an hour before racing. You may also soak it overnight in castor oil. Find more information and links about the lubricating solution on our FAQ page. You can find the green soap and glycerin at a pharmacy, Walmart, Michaels, or online at Amazon. Click on the image links above to see images of them. -
Hang 3 rubber bands on the red hook of the propeller and feed then down through the ship. We have found that 3 rubber bands works well. They give you 4 but that gets too bunched up inside the ship and they sometimes won't unwind. Attach the propeller to the ship hull as shown...
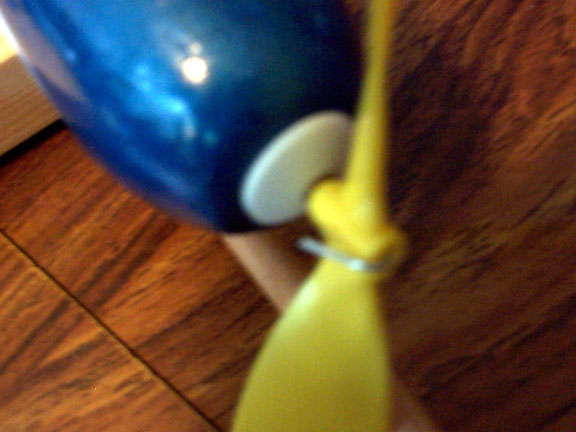
Propeller mounted on plane.
This is the image of the propeller assembled and mounted on the plane.
-
The ship should be well built and ready to fly.
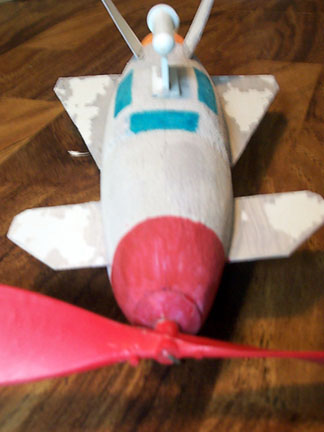
Propeller mounted on plane.
This is an image of the propeller mounted on the plane.
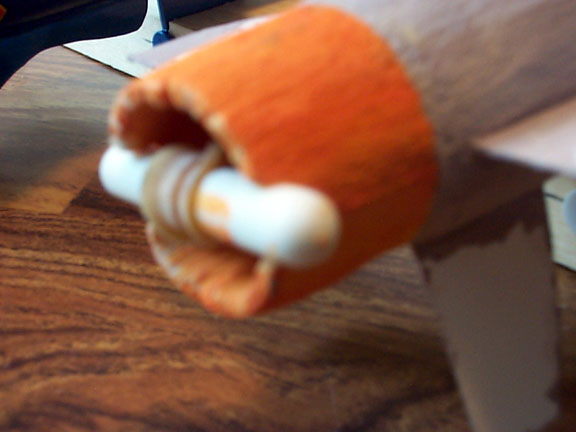
Back with rubber band in place
Make sure the white holder is securely held in the slots. The slot must be deep enough so it won't slip out.
-
IMPORTANT TIP:
Exercise the rubber bands with partial winding before applying the full winding amount. It is helpful to warm up your rubber band by winding it in 50 turn increments and releasing after each winding until you have wound up to about 150 turns. Our pack used about 120 turns for a race. We think that more than 150 turns is too much and puts undue stress on the rubber band and rocket. -
An Additional Note:
Test the Space ships before race night.
Test each entry by winding it up to the number of turns that you will be using on the race night. If the rocket "falls apart" or the rubber bands break then there is still time to fix it if this is done before the night of the race. We had a supply of Super Glue on hand for the adult coordinators of the race to use on ships that did fall apart the night of the race. -
Right and Wrong way of bending the wire on the propeller are demonstrated in the following pictures.
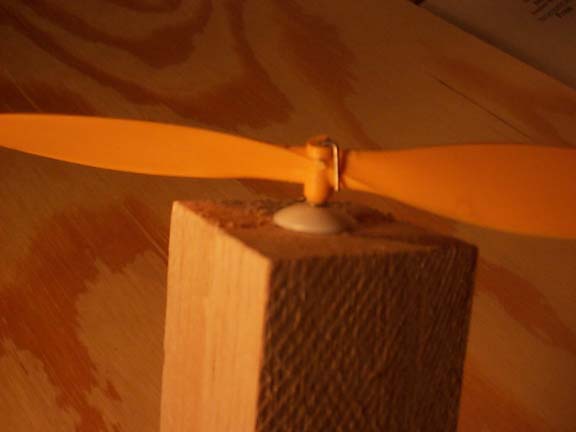
Correct way
This is the CORRECT way to bend the wire over the propeller.
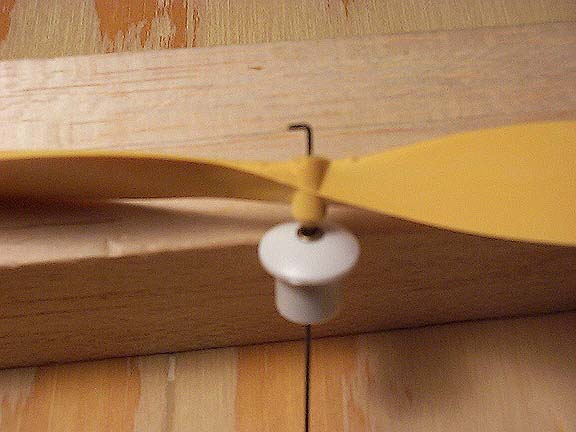
Wrong way
This is the WRONG way to bend the wire over the propeller.
-
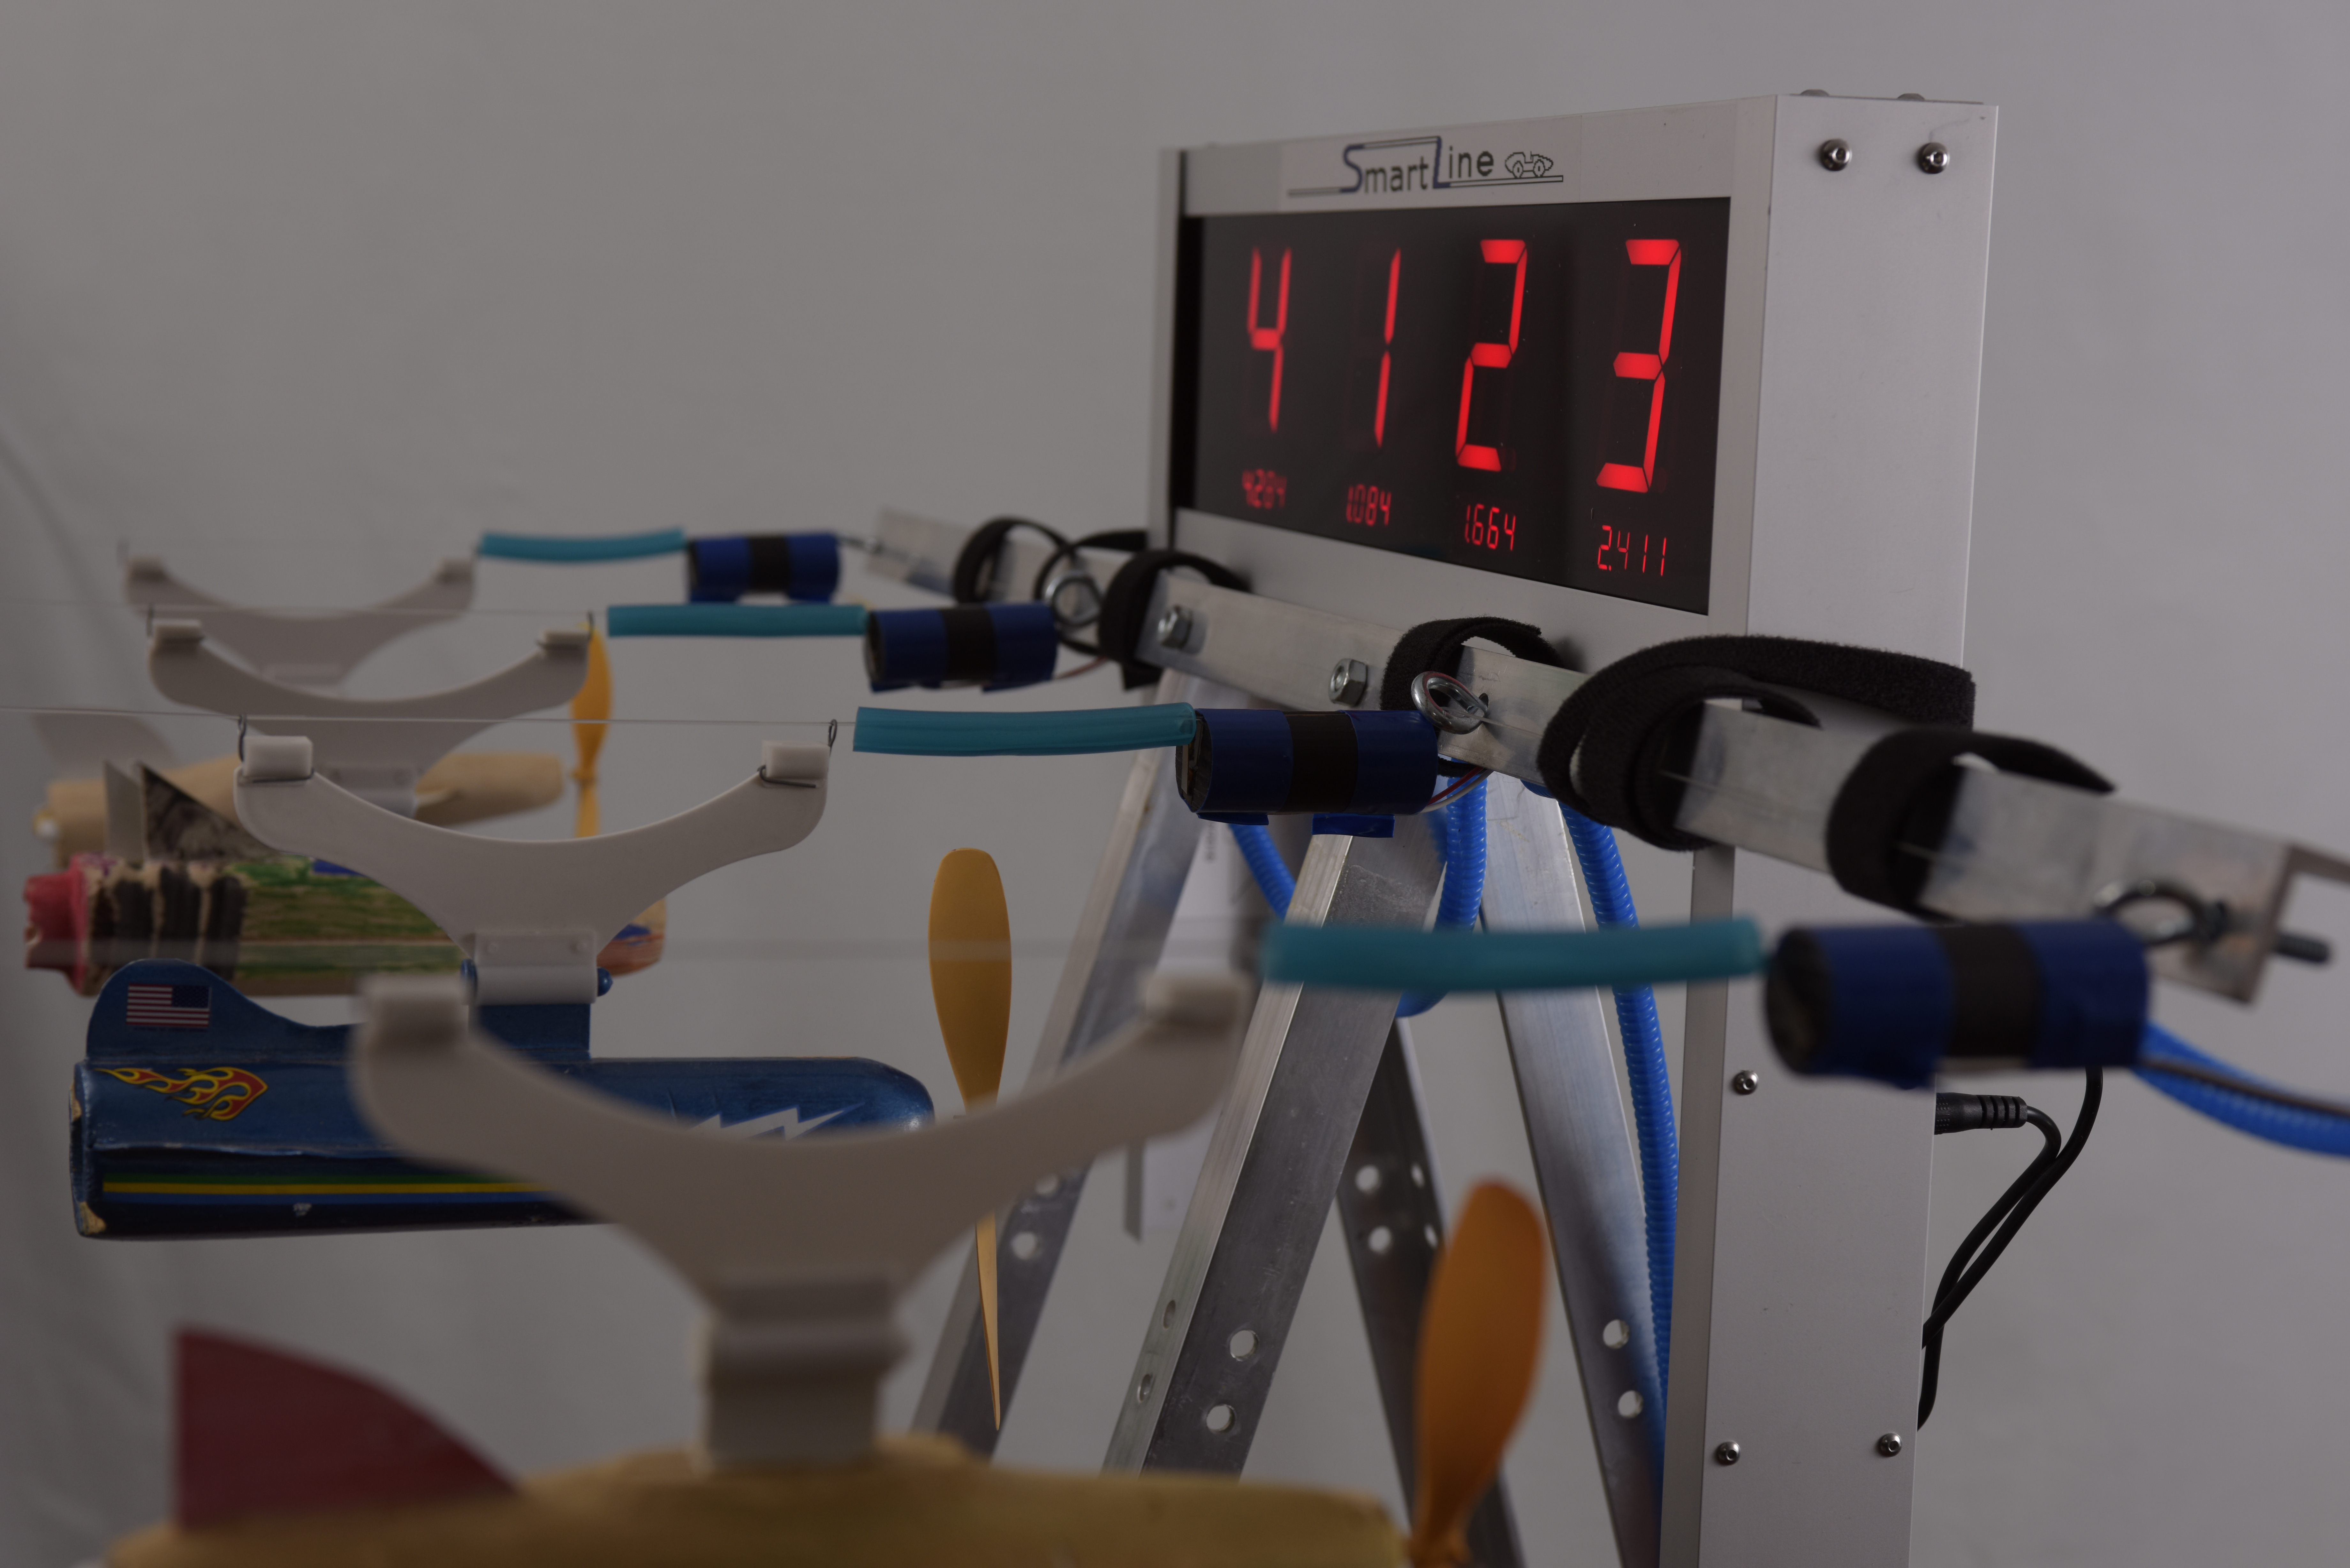
The Space Derby® vehicles travel very quickly along the wire and can be just as difficult to judge as the Pinewood Derby®. Our timer takes the pressure off the judges and provides the same race management capability. Rockets are flown on guide lines of 50 lb. test monofilament fishing line. The sensors have been redesigned to easily fit on the wire of any track including the BestTrack track.
The suggested length of the track is 40 feet, stretched as tight as possible. Sandbags or similar weight must be laid over the lower bar for stability. We also found that raising the starting tower helps. We used cartons of paper.
Click on the following links to read more about our "SMARTLINE TIMER II" for the Space Derby®. Read more about the Space Derby® track and mounting a timer on the track details page.SmartLine Timer II Complete Space System
New SmartLine Timer II mounted on the BestTrack track is shown above.
We can supply a complete SmartLine Timer II Space System or a Retrofit Space System for your BestTrack Champ or SmartLine Timer I legacy timer. We provide an easy way of mounting any of these timers to any space track. You will need to either purchase or build the track but we can provide everything you need for timing the race.
Read more about the Space Derby® Timer features on the timer features page.
Refer to the SmartLine SpaceDerby V9 manual on our Manuals page for complete setup information.




 © 2004-2025 eTekGadget · All rights reserved ·